
SSH On Raspberry Pi: Remote Access & Security Tips
Can you truly harness the power of your Raspberry Pi from anywhere in the world? The answer is a resounding yes, and Secure Shell (SSH) is your key to unlocking this capability, transforming your tiny computer into a remotely manageable powerhouse.
The Raspberry Pi, a marvel of modern engineering, packs a significant punch into a small package. Its versatility lends itself to a myriad of projects, from intricate IoT devices to sophisticated home security systems. However, to truly exploit its potential, you need to be able to interact with it, control it, and access its data, regardless of your physical location. This is where Secure Shell, more commonly known as SSH, steps into the limelight.
Before diving into the specifics, let's address the fundamental question: what exactly is SSH, and why is it so crucial? SSH, in its essence, is a network protocol designed to provide secure, encrypted remote access to a device. It's the digital equivalent of a secure portal, allowing you to step into your Raspberry Pi's command line interface (CLI) from another device, like your laptop or desktop, regardless of the distance separating them. With SSH, you're not just remotely accessing your Raspberry Pi; you're taking command of it.
The beauty of SSH lies in its simplicity and efficacy. It offers a perfect blend of security, speed, and ease of use, making it the preferred method for Raspberry Pi enthusiasts and system administrators alike. It's a secure alternative to less secure protocols like FTP, allowing for seamless file transfer and the execution of commands.
Now, let's delve into the heart of the matter: setting up SSH on your Raspberry Pi. The process is remarkably straightforward, but the steps vary slightly depending on your operating system. Fortunately, the Raspberry Pi Foundation has streamlined the process, making it accessible even for those new to the world of Linux.
For those using the Raspberry Pi OS with a desktop environment, enabling SSH is a breeze. Simply navigate to the Raspberry Pi configuration tool, accessible through the graphical user interface, and locate the "Interfaces" tab. Here, you'll find the option to enable SSH. It's a simple click, and you're almost ready to go.
- Alice Rosenblum Leaks Content News What You Need To Know
- Aagmaal Run Your Ultimate Guide In 2024 Traffic Insights
For users of the Raspberry Pi OS Lite version, the process involves a minor adjustment during the initial setup. When flashing the SD card with the operating system, you'll need to apply advanced options. This allows you to configure SSH before the system boots up for the first time, saving you the trouble of physically connecting a monitor and keyboard.
Once SSH is enabled, the next crucial step is discovering your Raspberry Pi's IP address. This unique identifier is how your remote device will locate your Raspberry Pi on the network. The `ifconfig` command, entered in the terminal, quickly reveals this information, allowing you to establish the connection.
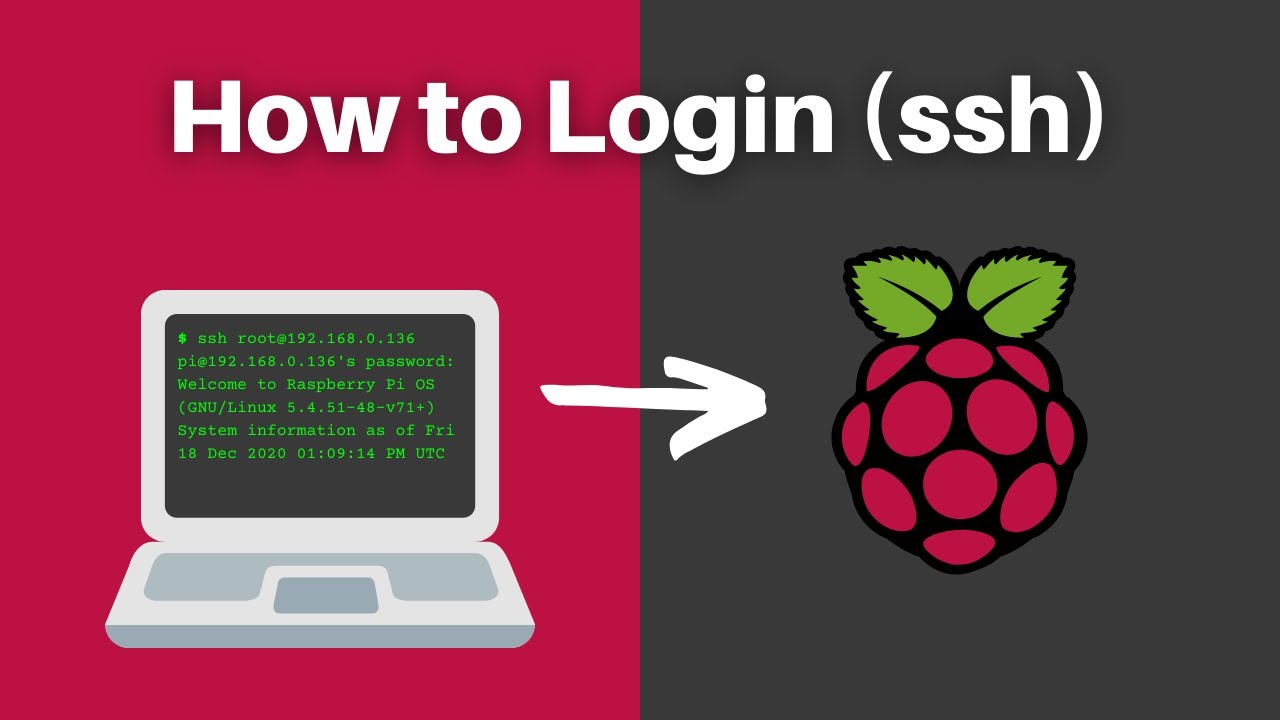
Connecting to your Raspberry Pi via SSH involves using a terminal application on your computer or a dedicated tool like PuTTY, a popular SSH client for Windows. The basic command structure is `ssh pi@`. Replace `` with the IP address you obtained earlier, and you're ready to log in. You'll be prompted for your Raspberry Pi's password, and if the credentials match, you'll be granted access to the command line.
However, the convenience of SSH also brings with it potential security vulnerabilities. Hackers and intruders can exploit SSH to gain unauthorized access to your device. Therefore, it's critical to implement robust security measures to protect your Raspberry Pi. One of the most fundamental steps is to restrict SSH access to trusted hosts only. This means configuring your system to accept connections only from specific IP addresses or networks, essentially creating a whitelist of authorized devices.
Another security measure is to harden your SSH configuration. You can modify the default settings to enhance security. One way is to change the default SSH port, which hackers often target. Moreover, disabling password-based authentication in favor of key-based authentication can dramatically improve security. Key-based authentication uses cryptographic keys to verify your identity, rendering password-based brute-force attacks ineffective.
Beyond the fundamental security configurations, various advanced techniques further enhance the security and utility of SSH. Incorporating a Virtual Private Network (VPN) service encrypts your traffic, adding an extra layer of privacy and security. This is particularly useful when accessing your Raspberry Pi over public Wi-Fi networks.
Another useful approach is the implementation of a secure reverse SSH tunnel. This allows you to access your Raspberry Pi, even when it is behind a firewall or NAT (Network Address Translation) and prevents direct access from the outside. This method is often used when the Raspberry Pi is part of a private network.
Tools like Zerotier offers a way to create secure networks between devices, and they can be an effective means of limiting remote connectivity to your Raspberry Pi. By approving the devices that you want to connect to it, you are adding another layer of security.
Let's summarize the key benefits of using SSH for your Raspberry Pi:
- Secure Remote Access: SSH ensures that all communications between your device and your Raspberry Pi are encrypted, protecting your data.
- Remote Control: You can control your Raspberry Pi from anywhere, allowing you to run commands, manage files, and install software.
- File Transfer: SSH enables the secure transfer of files using the SSH File Transfer Protocol (SFTP), which is a safer alternative to FTP.
- Management and Maintenance: Carry out crucial maintenance tasks, such as system updates, without needing a monitor or keyboard.
- Versatility: SSH is the gateway for a wide array of remote applications, from IoT device management to security systems control.
In terms of security, speed, and ease of use, SSH strikes the perfect balance. It's the preferred choice for Raspberry Pi enthusiasts worldwide, making it an essential tool. When you are running tasks such as upgrades and reboots, you can use secure shell (SSH) instead of plugging in a monitor.
Now let's dive into some practical applications. Imagine implementing SSH to remotely control an IoT (Internet of Things) device. You could create a remote temperature sensor, accessing its data from anywhere using your Raspberry Pi and SSH. Or, you could set up a DIY security camera system, remotely viewing the feed and controlling its functionality.
The "ifconfig" command is vital in this process, as it helps you find your Raspberry Pi's IP address.
The basic command to connect is `ssh pi@`.
Older versions of Raspberry Pi OS had SSH disabled by default for security reasons.
In conclusion, Secure Shell (SSH) is the backbone of remote access for your Raspberry Pi. It provides a secure, versatile, and user-friendly method for controlling, managing, and interacting with your device from anywhere in the world. Whether you're a hobbyist tinkering with IoT projects, a developer managing a server, or simply someone who wants to access their Raspberry Pi remotely, SSH is an indispensable tool. By mastering its configuration and implementing proper security measures, you can unlock the full potential of your Raspberry Pi and take control of your digital world.
| Aspect | Details |
|---|---|
| Core Functionality | Provides secure, encrypted remote access to a Raspberry Pi device. Allows users to control and manage the device remotely. |
| Key Advantages | Secure, fast, and easy to use. Enables file transfer, remote command execution, and system maintenance without a physical monitor. |
| Security Features | Uses encryption to protect data. Allows restricted access to trusted hosts, and secure configuration. Supports advanced features like VPNs and key-based authentication. |
| Setup Methods |
|
| Essential Commands |
|
| Common Use Cases |
|
Article Recommendations
- Onlyfans Explore Alice Rosenblums Content More Latest Updates
- Alyx Star Age Bio Viral Videos You Need To See


Detail Author:
- Name : Grover Monahan
- Username : obrown
- Email : idell23@gmail.com
- Birthdate : 1992-08-31
- Address : 86057 Darryl Mews Suite 126 New Jaida, CO 41182-6358
- Phone : +1-907-968-9870
- Company : Koch, Grant and Stark
- Job : Marriage and Family Therapist
- Bio : Quasi eaque aut repellendus dolor cupiditate sunt repellendus ipsa. Cumque excepturi adipisci ipsum nobis error. Repudiandae earum odio doloribus modi.
Socials
linkedin:
- url : https://linkedin.com/in/kolby_hintz
- username : kolby_hintz
- bio : Error expedita dolor aut cumque vel molestias ab.
- followers : 6836
- following : 1747
instagram:
- url : https://instagram.com/kolby_xx
- username : kolby_xx
- bio : Eaque magnam exercitationem quisquam voluptas et. Adipisci officia eveniet sit vitae.
- followers : 4863
- following : 2434
facebook:
- url : https://facebook.com/khintz
- username : khintz
- bio : Reprehenderit aut sunt suscipit qui.
- followers : 6308
- following : 712
tiktok:
- url : https://tiktok.com/@kolby4143
- username : kolby4143
- bio : In ut asperiores repellat nesciunt ea.
- followers : 3803
- following : 546
twitter:
- url : https://twitter.com/kolby_dev
- username : kolby_dev
- bio : Qui dignissimos provident cumque est sed quod. Nemo esse velit debitis fugiat.
- followers : 5299
- following : 124
